Nanaimo Bars.
No-Bake Coconut Custard Squares
Nanaimo bars · say it: nuh-NYE-moh bars
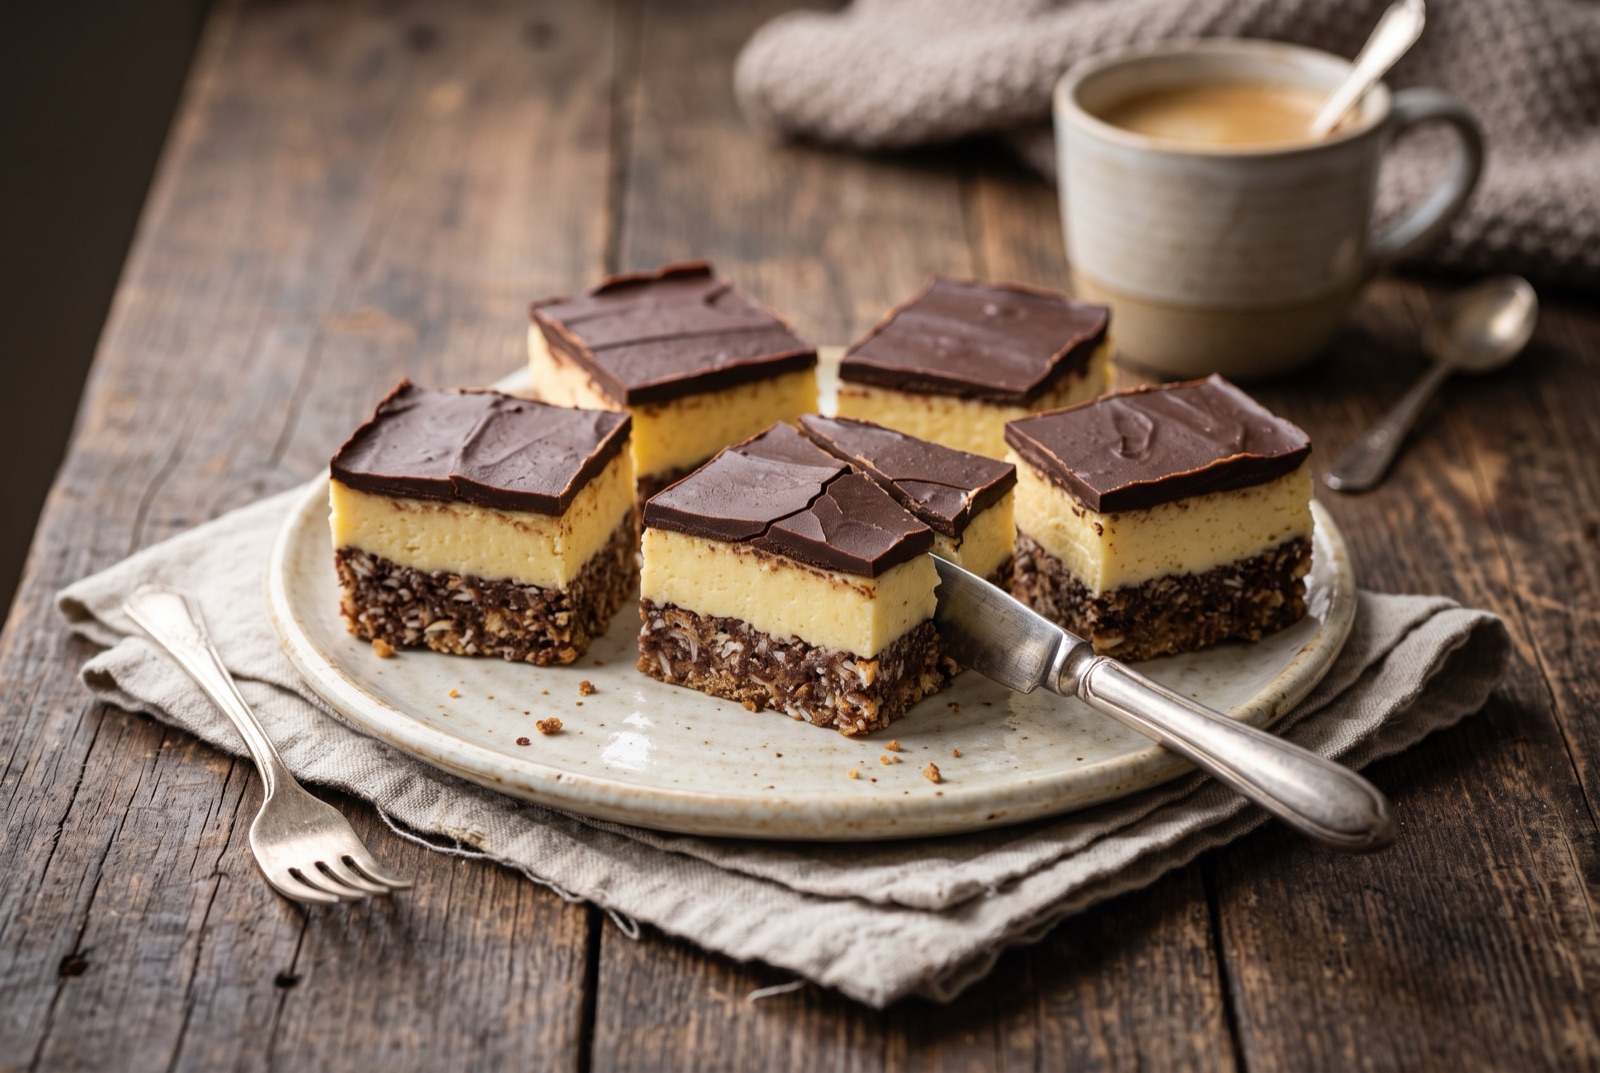
A Nanaimo bar is a chilled three-layer square that never sees an oven. The bottom is a dense, chewy paste of biscuit crumbs, desiccated coconut and chopped walnuts bound with a cooked cocoa-and-egg mixture; the middle is a pale yellow buttercream flavoured with custard powder, which tastes faintly of vanilla and something like childhood; the top is a thin sheet of set chocolate that fractures when you bite it. Nothing about it is subtle — it is sweet, cold, and rich enough that a small square is a full dessert — but the three textures against each other are the reason it has outlived a hundred other church-sale slices. It takes half an hour of work and a couple of hours of patience in the fridge.

- Gate
- CanadaBritish Columbia
- Prep
- 30 min
- Cook
- 10 min
- Total time
- 3 hr 10 min incl. 2 hr 30 min rest
- Serves
- 16
- Status
- Easy
- Nutrition / serving · estimated
- Calories 335 kcal
- Protein 3 g
- Carbs 38 g
- Fat 20 g
- Fiber 2 g
- Sugar 30 g
Why this recipe works.
- Cooks the base over gentle heat until the egg thickens, which is what makes it slice cleanly instead of crumbling into the plate.
- Keeps the middle layer firm by using custard powder and softened rather than melted butter, so it never turns oily or grainy.
- Adds a little butter to the chocolate top so it sets glossy but yielding, rather than shattering into shards when cut.
- Gives the exact scoring trick that produces sharp squares from a chilled bar without cracking the surface.
Ingredients.
14 itemsFor the base
For the custard layer
For the chocolate top
Equipment
- 20 x 20 cm square tin
- Parchment paper
- Heatproof bowl set over a saucepan
- Electric beaters or a sturdy spoon
Instructions.
Line the tin
Line a 20 cm square tin with parchment, letting it hang over two opposite sides so you can lift the finished slab out in one piece. Press the paper flat into the corners so the base sets with square edges.
Cook the base mixture
Set a heatproof bowl over a pan of barely simmering water and melt the butter with the caster sugar and cocoa. Whisk in the beaten egg and keep stirring for 2 to 3 minutes, until the mixture thickens noticeably and coats the back of the spoon like a loose custard.
Tip Never let the water boil hard underneath. If the mixture starts to look scrambled, lift the bowl off and beat it smooth immediately.
Press the base into the tin
Take the bowl off the heat and stir in the biscuit crumbs, coconut and chopped walnuts until every crumb is dark and evenly coated. Tip it into the tin and press down hard with the flat bottom of a glass until the surface is compact, level and slightly shiny.
Tip Press harder than feels necessary. A loose base is the reason bars crumble when lifted.
Chill the base
Refrigerate for 20 minutes, until the base is cold and firm enough that a fingertip leaves no mark. Building on a soft base drags crumbs up into the pale layer above it.
Beat the custard layer
Beat the softened butter with the custard powder, cream and salt until smooth, then add the sifted icing sugar in two batches and beat for a full minute until the mixture is pale, thick and holds a soft peak. Spread it over the cold base and smooth the top flat with an offset spatula.
Tip If it looks slack rather than fluffy, the butter was too warm — chill the bowl for ten minutes and beat again.
Chill until firm
Return the tin to the fridge for at least 30 minutes, until the custard layer is dry to the touch and does not shift when you press it gently at the edge. It has to be properly set or the warm chocolate will marble into it.
Pour the chocolate top
Melt the chocolate with the butter over the same pan of simmering water, then let it cool for 5 minutes until it is fluid but no longer hot. Pour it over the chilled custard layer and tilt the tin in each direction until it flows into a thin, even sheet.
Tip Hot chocolate melts the buttercream underneath and the layers blur. Let it cool to just warm.
Score, chill and cut
After about 10 minutes, when the chocolate is set but still slightly tacky, score it into 16 squares with a sharp knife. Chill for a further hour, lift the slab out by the paper, and cut along the score lines with a knife dipped in hot water and wiped dry between cuts.
Tip Wipe the blade after every single cut. Dragged chocolate is what makes home-cut bars look scruffy.
Tips from our kitchen.
- Line the tin with parchment overhanging on two sides. Chilled bars are almost impossible to lever out of a bare tin without wrecking the top.
- Do not let the base mixture boil. Keep it over barely simmering water and pull it the moment it thickens to the consistency of a loose custard that coats the spoon.
- Press the base down hard with the flat bottom of a glass. A loosely packed base is why bars fall apart when you lift them.
- The butter for the middle layer should be soft enough to dent easily but not melted or shiny. Melted butter beats into a greasy layer that never firms up properly.
- Chill the middle layer until it is firm and dry to a fingertip before pouring on the chocolate, or the two layers will marble together.
- Score the chocolate into squares while it is set but still slightly tacky, roughly ten minutes after pouring, then chill fully and cut along those lines with a hot dry knife.
Substitutions.
- Custard powder → Instant vanilla pudding mix, or 3 tbsp cornflour plus 1 tsp vanilla and a drop of yellow colouring
- The cornflour version gets the texture right but loses the specific flavour. Instant pudding mix is the usual North American workaround and comes closest.
- Graham cracker crumbs → Digestive biscuits or plain sweet tea biscuits, crushed to coarse sand
- Digestives are the standard swap outside North America and slightly less sweet, which is no bad thing here.
- Walnuts → Pecans, almonds, or an extra 60 g of biscuit crumbs
- Leaving the nuts out entirely works, but the base loses its bite and reads flatter. Toast whichever nut you use for a minute first.
Variations.
- Mint Nanaimo bars
- Peppermint extract in place of vanilla in the middle layer, tinted pale green. A common Christmas version that tastes like a very good after-dinner mint.
- Peanut butter Nanaimo bars
- Swap half the butter in the middle layer for smooth peanut butter and drop the custard powder to one tablespoon. Denser, less sweet, popular in Prairie versions.
- Maple Nanaimo bars
- Beat two tablespoons of dark maple syrup into the buttercream and cut the icing sugar by 40 g, keeping the layer thick enough to hold.
Storage & reheating.
Nanaimo bars keep 1 week in an airtight container in the fridge and are best eaten cold — at room temperature the middle layer softens and the bar starts to slump. They freeze extremely well for 3 months: cut them first, layer between parchment, and take pieces out as needed. Thaw uncovered in the fridge for 30 minutes rather than on the counter, since condensation dulls the chocolate top to a matte grey. If a frozen batch develops that grey bloom anyway, it affects looks only and not flavour.
Serve with
Cut small and serve straight from the fridge with strong coffee. Anything sweet alongside is simply too much.
The story behind Nanaimo Bars.
The bar takes its name from Nanaimo, a harbour city on the east coast of Vancouver Island, and that connection is about the only part of its history that is not contested. Recipes matching the modern bar turn up in Vancouver Island community and hospital-auxiliary cookbooks around the middle of the twentieth century, usually under plainer names — chocolate slice, chocolate square, New York slice — before the Nanaimo label attached itself and stuck. The commonly retold origin stories, including the ones involving a specific local baker and a magazine competition, are repeated far more often than they are documented, so it is more honest to say the bar emerged from a community of home cooks swapping a good recipe than to name an inventor.
What the ingredient list does record clearly is British influence on the British Columbian pantry. The custard powder in the middle layer is the giveaway: a cornflour-based product invented in Victorian England for households wanting custard without egg yolks, and a staple in Canadian cupboards long after it faded elsewhere. Its faint vanilla flavour and butter-yellow colour are what separate a Nanaimo bar from any other chocolate refrigerator slice, which is why substituting plain icing sugar produces something recognisably different.
Nanaimo itself has leaned into the association with some enthusiasm. The city adopted the bar as an official symbol, publishes a recipe it treats as the definitive one, and maintains a marked trail of local businesses selling versions of it — deep-fried, in cheesecake form, as ice cream, as a cocktail. Elsewhere in Canada the bar is simply assumed knowledge: it appears at potlucks, in office cookie exchanges and in the tin every December, cut small because everyone knows how rich it is. It is also the rare celebrated dessert that requires no baking skill at all, which explains a great deal about its spread.
Questions, answered.
What is custard powder and do I really need it?
Custard powder is a cornflour-based mix with vanilla flavouring and yellow colouring, sold under brands like Bird's, and it thickens the middle layer while giving it its signature pale colour and mild vanilla taste. You can replace it with instant vanilla pudding mix, which is the usual substitute in North America, or with plain cornflour plus vanilla. Without any of them the layer is just sweetened butter and tastes noticeably flatter.
Why does my chocolate top crack and shatter when I cut it?
Pure chocolate sets hard and brittle over a soft layer, so the knife shatters it instead of slicing it. Two fixes work together: stir a little butter or neutral oil into the melted chocolate so it stays slightly pliable, and score the surface into squares about ten minutes after pouring, while it is set but still tacky. Then chill fully and cut along those score lines with a knife dipped in hot water and wiped dry.
Does the base need to be cooked if there is no baking?
Yes. The egg is what binds the crumbs, coconut and nuts into a sliceable layer, and it needs gentle heat over simmering water to thicken and to be safe to eat. Cook it until the mixture coats the back of a spoon like a loose custard, stirring constantly so it never scrambles. Uncooked versions exist but produce a base that crumbles apart under the knife.
My middle layer turned grainy and greasy. What went wrong?
Almost always butter that was too warm. It should be soft enough to dent with a finger but still opaque and cool, never melted, or the mixture splits and leaves a slick on top. Unsifted icing sugar is the other culprit for graininess, since the lumps never fully dissolve into cold butter. If it has already split, beat in a tablespoon of sifted icing sugar and chill the bowl for ten minutes, then beat again.
Can I make Nanaimo bars without nuts?
Yes. Replace the walnuts with an equal weight of extra biscuit crumbs plus a little more desiccated coconut, and the base still holds together perfectly. The texture becomes softer and more uniform, since the nuts are what give the bottom layer its slight crunch, so some people compensate with a handful of crushed pretzels or a coarser crumb.
How far ahead can I make them?
They are better made ahead. A day in the fridge lets the base firm up and the layers settle against each other, and they cut far more cleanly on day two than on the afternoon they were assembled. They hold a full week refrigerated and three months frozen, which makes them one of the more forgiving things to prepare for a party in advance.
You might also like.
All recipes →
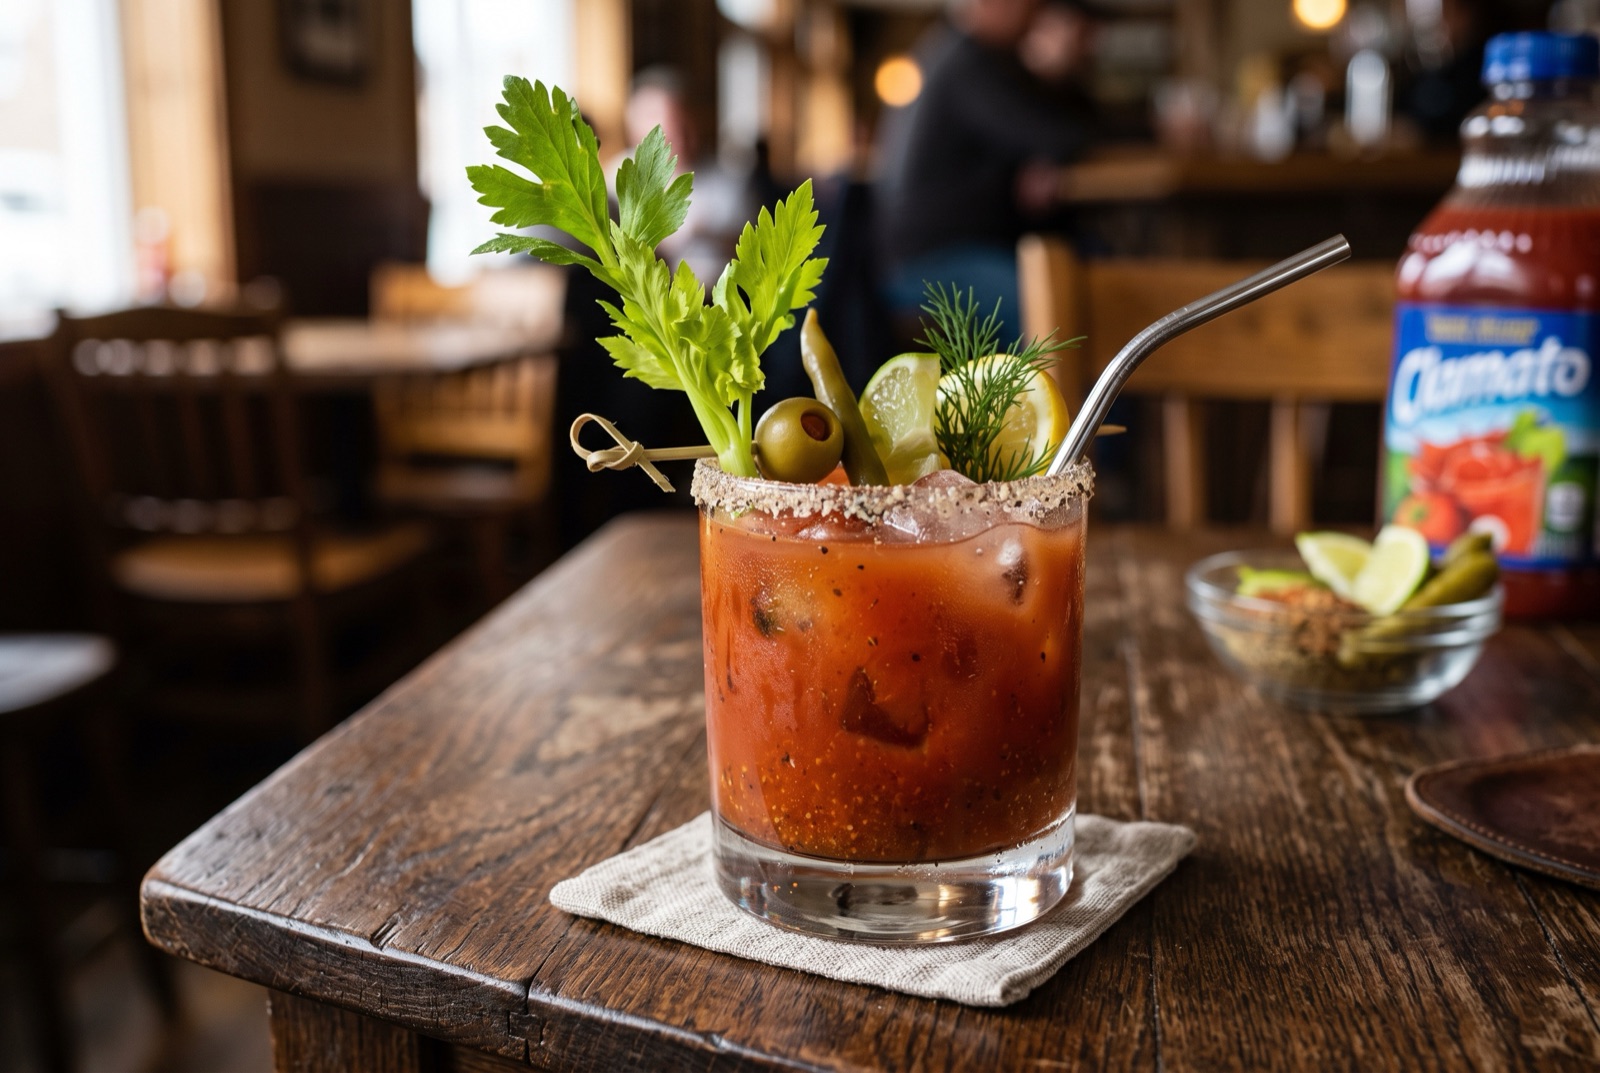
Keep exploring Canada.
Canada has 9 more dishes in the atlas — Bannock and Bloody Caesar, and 7 more.
Recipe by The DishRoute Kitchen · published August 20, 2026 · updated August 20, 2026