Pão de Queijo.
Brazilian Cheese Bread
Pão de queijo · say it: powng jee KAY-zhoo
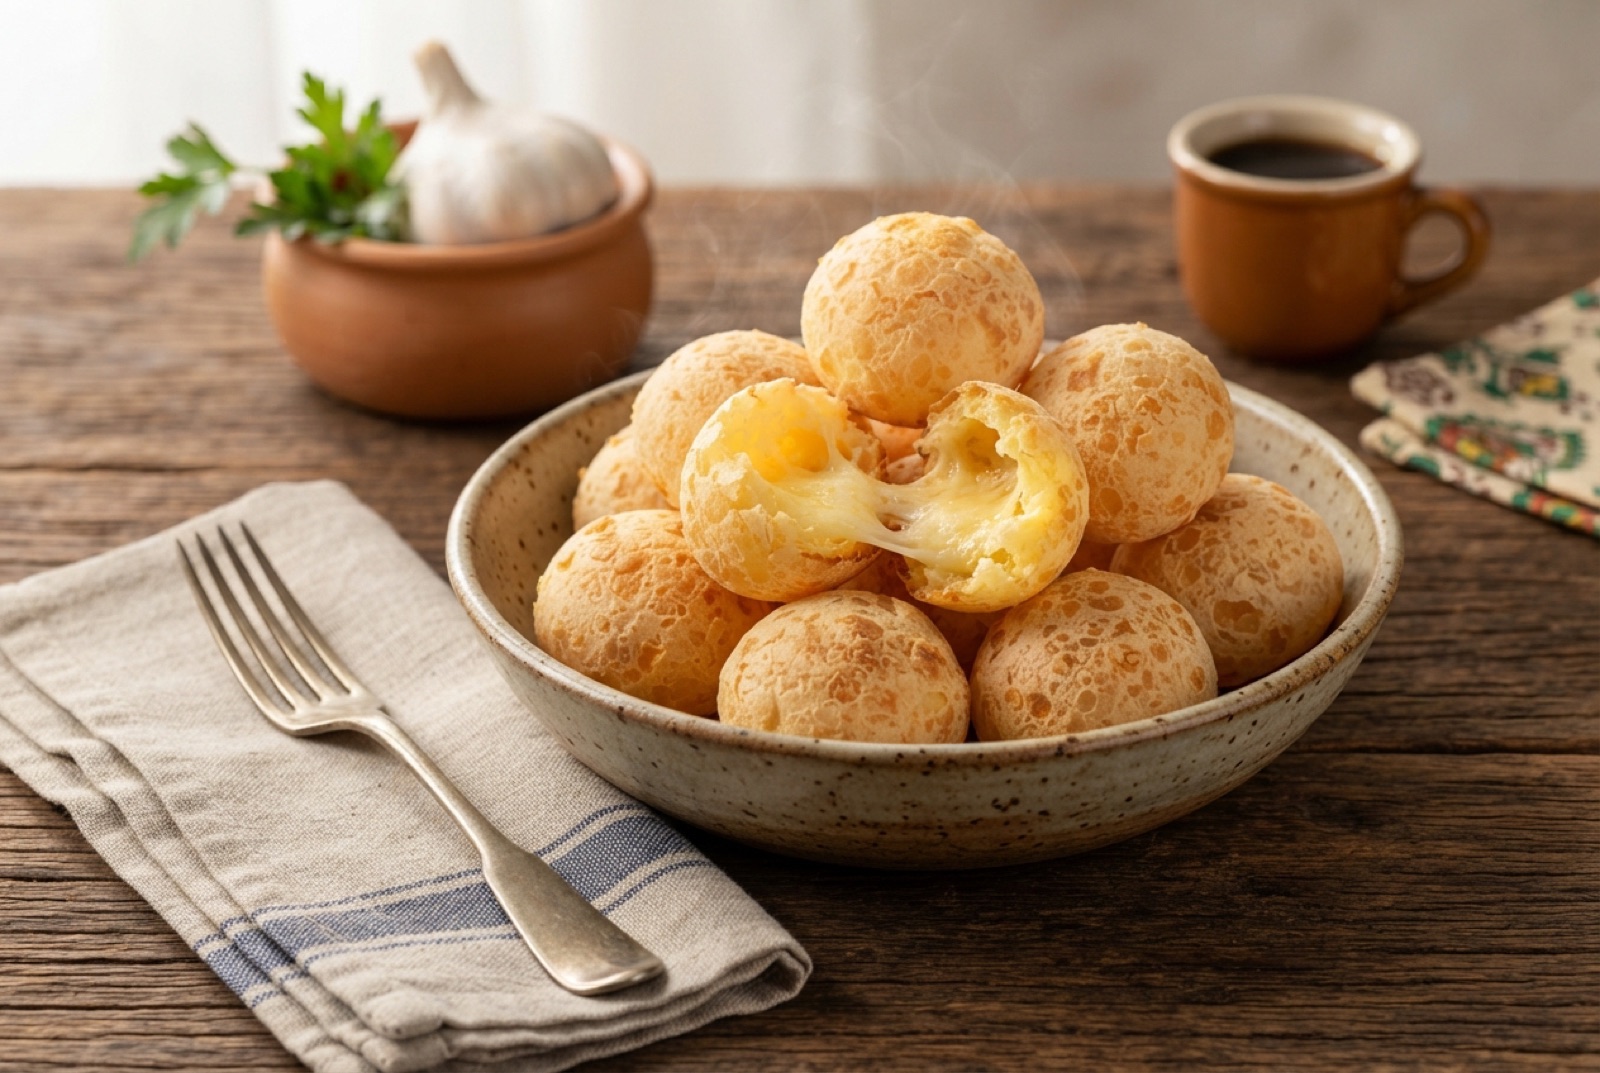
Pão de queijo are small baked puffs made from tapioca (cassava) starch, eggs and cheese — no wheat flour anywhere, which is not an adaptation but the whole point of the recipe. The starch gives them a texture nothing made from wheat can copy: a thin, crackled golden shell around an interior that is elastic, almost mochi-like, and saturated with salty cheese. Eaten warm they stretch when you tear them. Brazilians have them for breakfast and with afternoon coffee, and the batter method here — scald, cool, beat in eggs and cheese, roll, bake — is the traditional one, more reliable than blender shortcuts and still done in under an hour plus baking.

- Gate
- BrazilMinas Gerais
- Prep
- 30 min
- Cook
- 25 min
- Total time
- 1 hr 10 min incl. 15 min rest
- Serves
- 6
- Status
- Easy
- Nutrition / serving · estimated
- Calories 480 kcal
- Protein 14 g
- Carbs 58 g
- Fat 22 g
Why this recipe works.
- The traditional scalded-starch method — more reliable and chewier than quick blender batters.
- Naturally gluten-free by design, not adaptation: the cassava starch is the original recipe.
- Honest about cheese: what queijo minas does, and how a parmesan blend gets closest abroad.
- The dough balls freeze raw superbly, so one batch becomes fresh warm bread on demand.
Ingredients.
7 itemsFor the dough
Equipment
- Medium saucepan
- Large mixing bowl (or stand mixer with paddle)
- Baking sheet lined with parchment
- Box grater
Instructions.
Scald the starch
Put the tapioca starch in a large bowl. Bring the milk, oil and salt to a rolling boil in a saucepan — actual bubbles, not just steam — and pour it over the starch all at once, stirring with a sturdy spoon until every dry patch disappears into a lumpy, stretchy mass.
Tip A full boil is non-negotiable: an under-heated scald is the number one cause of flat, cracked puffs.
Cool the dough
Let the scalded dough sit until it is just warm to the touch — comfortable to hold a finger in — about 15 minutes, stirring once or twice to release steam. Hot dough would cook the eggs in the next step.
Beat in the eggs
Add the eggs one at a time, beating hard after each until fully absorbed — the dough will look slippery and separated at first, then come back together smooth, glossy and elastic. A stand mixer with the paddle makes short work of this.
Add the cheese
Beat in 150 g of grated parmesan and the shredded melting cheese until evenly distributed. The finished dough should be very sticky and stretchy, like thick mashed potato that pulls in strands — resist the urge to stiffen it with more starch.
Roll the balls
Heat the oven to 190°C. With well-oiled hands, roll the dough into golf-ball-sized balls (about 40 g each) and space them 4 cm apart on a parchment-lined sheet — they will puff and spread a little.
Tip This is the moment to freeze extras: tray-freeze raw balls solid, then bag them for up to 3 months.
Bake until golden and crackled
Bake in the middle of the oven until the puffs are well risen, deep golden and crackled on top, 22–28 minutes — they should sound hollow when tapped on the base. Pale puffs taste of raw starch, so hold your nerve past light gold.
Cool briefly and eat warm
Rest the puffs 5–10 minutes on the tray — straight from the oven the interior is molten. Tear one open: the inside should stretch in soft, cheesy strands. Serve warm, ideally with strong coffee.
Tips from our kitchen.
- Scald properly: the milk-oil mixture must be at a rolling boil when it hits the starch, or the dough will not hydrate and the puffs will crack and slump.
- Let the scalded dough cool until just warm before adding eggs — hot dough scrambles them and the puffs turn dense.
- The finished dough should be sticky and stretchy, like very thick mashed potato. Oil your hands to roll it; adding extra starch to make it "manageable" makes dry puffs.
- If you can find sour tapioca starch (polvilho azedo), use half sour and half plain for the classic airy interior with a faint tang.
- Bake until deep golden with cracks on the surface — pale pão de queijo tastes of raw starch. They should sound hollow when tapped underneath.
- Eat them warm. They are at their absolute best 10 minutes out of the oven, and reheating works better than eating them cold.
Substitutions.
- Queijo minas (fresh Minas cheese) → Half grated parmesan, half shredded mozzarella or a mild melting cheese
- Queijo minas is rarely sold abroad. Parmesan brings the salt and depth, the melting cheese brings the pull — the blend is the standard expat solution.
- Sour tapioca starch (polvilho azedo) → Plain tapioca starch only
- Widely sold as "tapioca flour" in regular supermarkets. The puffs are slightly denser and milder but completely legitimate — many Brazilian recipes use only plain.
- Whole milk → Water, or half water half milk
- Older farmhouse versions used water. The crumb is a touch less tender but the recipe still works.
Variations.
- Stuffed pão de queijo
- Press a small cube of cream cheese or guava paste (goiabada) into the center of each ball before baking — the sweet-salty goiabada version nods to Minas' beloved Romeu e Julieta pairing.
- Pão de queijo frigideira
- A modern café shortcut: the same batter thinned slightly and cooked in a small nonstick pan like a thick pancake, folded over cheese.
- Herb and pepper
- Fold chopped scallions, oregano or cracked black pepper into the dough — common in home kitchens, unheard of in purist bakeries, delicious either way.
Storage & reheating.
The genius move: roll the balls and freeze them raw on a tray, then bag them — they keep 3 months and bake straight from frozen, adding 5–8 minutes. Baked puffs are best warm; they keep a day in an airtight container and revive well in a 180°C oven for 5 minutes. Do not refrigerate baked ones — the starch staling accelerates in the fridge.
Serve with
Strong sweet coffee (cafezinho) or café com leite — the standard Brazilian breakfast and afternoon pairing.
The story behind Pão de Queijo.
Pão de queijo belongs to Minas Gerais, the inland mining state whose farm kitchens shaped much of Brazil's comfort food. Its foundation is cassava, the root domesticated by Indigenous peoples of South America long before European contact, whose extracted starch — polvilho — was a pantry staple across colonial Brazil in regions and eras when wheat was scarce or unavailable. The custom of baking small rolls from cassava starch grew out of that colonial-era kitchen economy in general terms; on the fazendas of Minas, cooks — including the enslaved women who worked those kitchens — turned the starch into little baked rolls, and at some point cheese from the state's dairy farms joined the dough. Precise dates are not documented, and honest accounts leave it at that: an Indigenous ingredient, colonial farm kitchens, and mineiro cheese converging over generations.
What is certain is what happened next. As Minas Gerais became Brazil's dairy heartland, its fresh, salty queijo minas gave the rolls their identity, and in the twentieth century pão de queijo went from farmhouse specialty to national habit. Today it is everywhere: bakery counters at dawn, petrol station cafés, office coffee trays, and freezer bags of ready-to-bake dough balls in every supermarket — many Brazilian families keep a permanent stash.
The starch deserves a note. Polvilho comes in two forms: doce (sweet, i.e. plain) and azedo (sour, naturally fermented), and mineiro cooks argue happily about the right blend — azedo puffs more and adds tang, doce gives a denser chew. Either works alone. And because cassava contains no gluten, pão de queijo has always been gluten-free by nature, centuries before the term existed, which has given this old farm bread an unplanned second life on modern menus worldwide.
Questions, answered.
Is pão de queijo really gluten-free?
Yes, inherently. Pão de queijo is made from tapioca starch extracted from cassava, a root that contains no gluten, and the traditional recipe never included wheat flour — the starch is the original ingredient, not a substitution. Anyone avoiding gluten can eat classic pão de queijo as long as the starch and other ingredients are uncontaminated.
What is the difference between sweet and sour tapioca starch?
Polvilho doce (sweet) is plain tapioca starch; polvilho azedo (sour) is the same starch naturally fermented before drying, which adds a faint tang and extra puffing power in the oven. Cooks in Minas Gerais often blend the two. Outside Brazil, plain tapioca starch — sold as "tapioca flour" — works alone and makes a slightly denser, milder puff.
What cheese should I use if I can't find queijo minas?
Queijo minas, the fresh salty cheese of Minas Gerais, rarely leaves Brazil. The closest working substitute is a blend: grated parmesan for salt and depth plus a mild melting cheese like mozzarella for stretch. All-parmesan also works and gives a more savory, crisper puff — many Brazilian recipes abroad are written exactly that way.
Why did my pão de queijo come out flat or dense?
Almost always one of three things: the milk-oil mixture was not at a full boil when it hit the starch (the scald is what sets the structure), the eggs went into dough that was still hot and partially cooked, or extra starch was added to make the sticky dough easier to handle. The dough should be tacky and stretchy — oil your hands rather than firming it up.
Can I freeze pão de queijo dough?
Yes — freezing raw is the standard Brazilian practice, and supermarkets there sell frozen dough balls by the bag. Roll the balls, freeze them solid on a tray, then transfer to a freezer bag for up to 3 months. Bake straight from frozen at the same temperature, adding 5–8 minutes, and they come out indistinguishable from fresh-rolled.
You might also like.
All recipes →
Keep exploring Brazil.
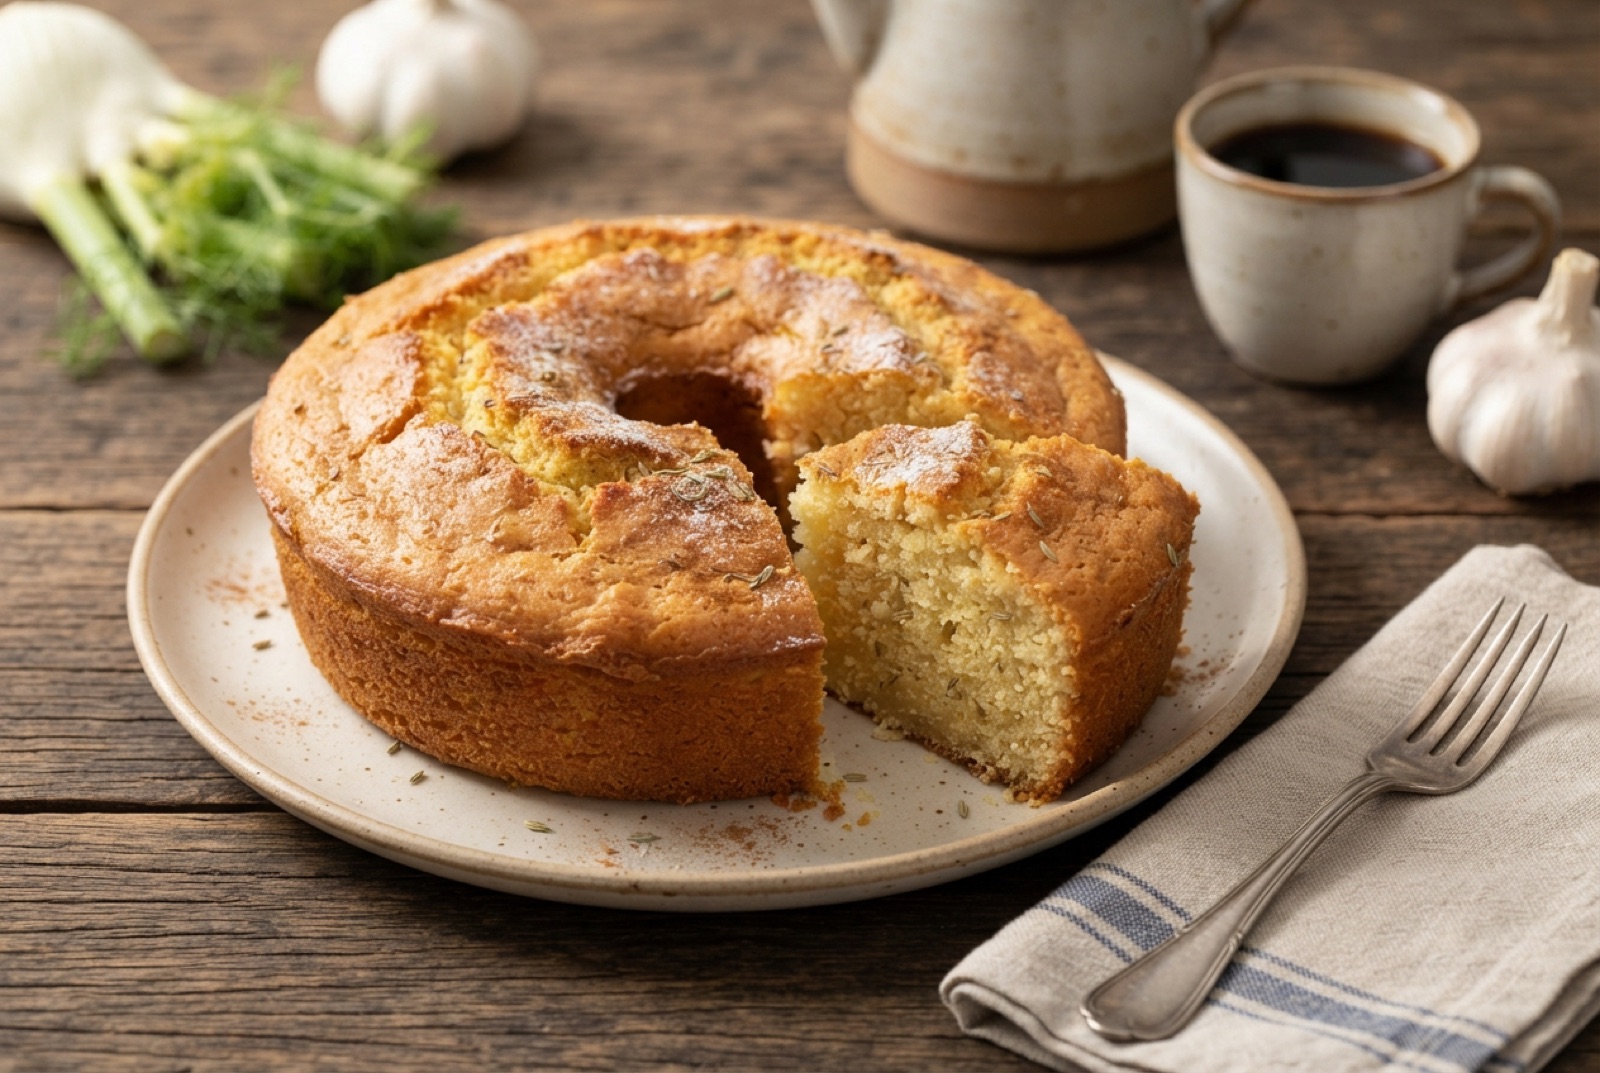
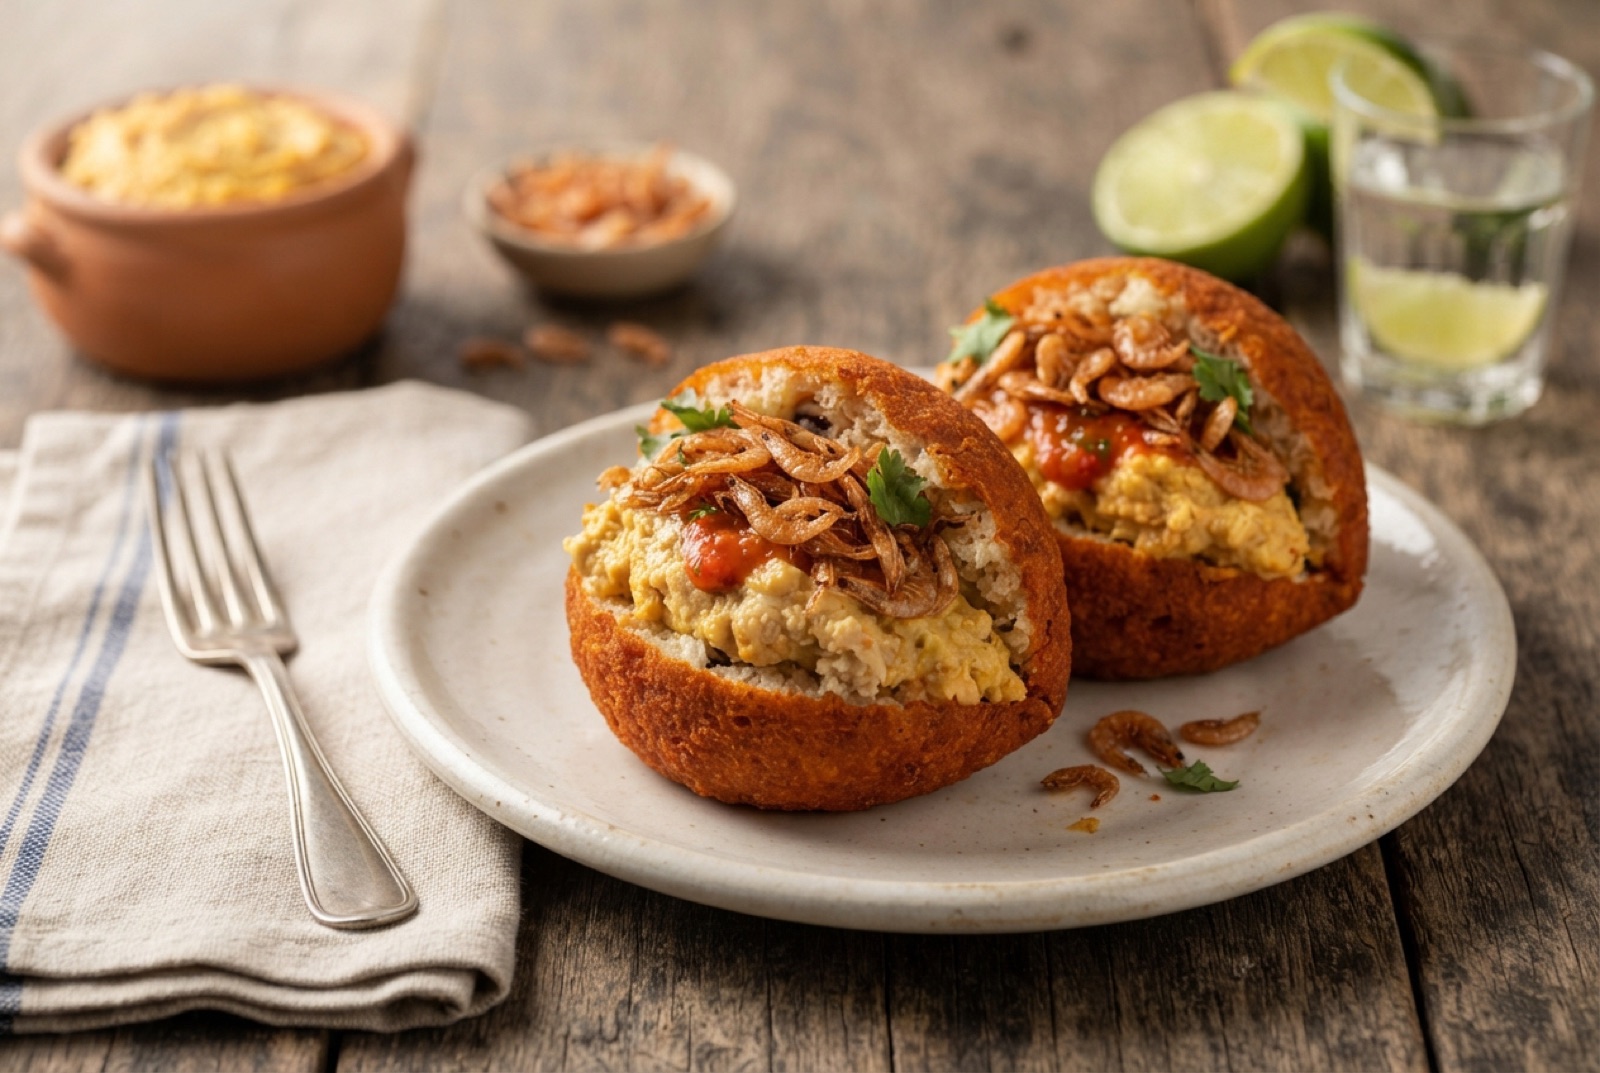
Brazil has 9 more dishes in the atlas — Acarajé and Bolo de Fubá, and 7 more.
Recipe by The DishRoute Kitchen · published August 18, 2026 · updated August 18, 2026